Back to Back! - Part III

First of all, I have to apologize to you all. I was in the process of leaving a company, dealing with a bunch of tests and various jobs I was doing. Organizing everything was complicated, stressful actually, and in the end I felt really sick, a massive headache that took me to the hospital. After a few days I came back and went straight to work, but… I wanted to continue our Vuejs project. I think it’s amazing, easy and practical. The only thing I’m finding complicated is the unit testing part, however I’m going to continue with our app.
At this point, I only want to work on the front-end part. I developed an API with everything we’ll need to develop the rest of our front-end application. It’s not much, but enough for us to work with. The only thing we need is to organize what we have with our server.
Let’s go step by step. Now in this first stage, we’ll need two libraries to improve the rest of our application: vue-router and vue-resource, and we’ll use a bit of bootstrap to speed up the process, but the focus is Vue.
Step 1, let’s add vue-resource and vue-router
sudo npm install vue-resource vue-router
Step 2, we need to modify our application in some parts. Let’s go to our app, and now we need to create a new file in the root of our src.
├── App.vue
...
│
├── main.js
└── routes.js <= 'Here!'
This file will manage the routes of our application and we’ll create it as follows:
import Home from './components/home/Home.vue';


export const routes = [
    { path: '', name: 'home', component: Home, titulo: 'Home', menu: true },
    { path: '*', component: Home, menu: false }
]
The path below says that any route outside what’s described should return to the main route and render the Home component
{ path: '*', component: Home, menu: false }
Step 3, let’s go to our App.vue, where we’ll make the following change!
<template>
  <div>
        <a href="#"> <router-link :to="{ name: 'home'}">
          <i class="fa fa-home"></i>
          Home
        </router-link ></a>

        <transition name="page-view">
            <router-view></router-view>

        </transition>

  </div>
</template>

<script>
import { routes } from './routes'

export default {
  data(){
    return{
      routes:routes.filter(route => route.menu)
    }
  }
}
</script>
<style>
...
</style>
In this step, we’ll import our route here. It will do all the work of filtering the views that should be instantiated and set our home as default. Below, we’ll create a simple transition effect!
<style>
.page-view-enter, .page-view-leave-active{
    opacity:0;
}

.page-view-enter-active, .page-view-leave-active{
    transition: 0.4s
}
</style>
Since we have a tag called <transition></transition>, we’ll just add an effect to it so that when we switch views it will give an opacity effect between one view and another with a certain delay, and that’s it. Let’s continue.
Hold on, from here on nothing will work, but follow the steps and everything will be fine!
Step 4, we need to make changes to our main.js, let’s add some of our new modules:
import Vue from 'vue'
import VueResource from 'vue-resource'
import VueRouter from 'vue-router'
import App from './App.vue'
import { routes } from './routes'

Vue.config.productionTip = false
Vue.use(VueResource)
Vue.http.options.root = 'http://localhost:3000'


Vue.use(VueRouter)


const router = new VueRouter({
  routes,
  mode:'history'
})


new Vue({
  el: '#app',
  router,
  render: h => h(App)
})
I’ll explain the changes we made. First, I added the vue-router and vue-resource modules, and for each of them I had to add to our Vue,
Vue.use(VueRouter) + Vue.use(VueResource) so it understands that we have new modules being injected that can be used in our application. Below we have router, which we instantiate for use in our application, and then we tell Vue where it should create the views and that it has a router process for each view that will be created.
Done!
Now that we already have our other component, Home.vue, created in our components folder, let’s adjust some things in its template!
<template>

        <div>
            <h3>{{ title }}</h3>

                <ul >
                    <li v-for="task in tasks">
                       <span>{{ task.activity }}</span> - <span> {{ task.done }}
                       </span>
                       <a @click="removeTask(task)">
                            <span class="glyphicon glyphicon-trash" aria-hidden="true"></span>
                            Remover
                        </a>
                    </li>
                </ul>
            <hr>

                <form @submit.prevent="submitTask()">
                        <label for="">Atividade:</label>
                        <input type="text" v-model="task.activity">

                        <label for="">Status:</label>
                        <input  type="checkbox" v-model="task.done">
                        <button name="add">Add + </button>
                </form>

        </div>

</template>
<script>
import _ from 'lodash';
import TaskService from '../../domain/task/TaskService'

export default {


}

</script>
<style>


</style>
I think this is simpler, even for those starting from here - it’s off to a good start because it’s simpler than the last examples. However, before we continue, I want to add a bit more style to our application. We’ll make a very simple change - just add Bootstrap CDN’s with some Bootswatch stuff to our application, in our index.html, which is in the root of our project!
And it will look like this:
<!DOCTYPE html>
<html>
  <head>
    <!-- Required meta tags -->
    <title>To Do Vue</title>
    <meta charset="utf-8">
    <meta name="viewport" content="width=device-width, initial-scale=1, shrink-to-fit=no">

    <!-- Bootstrap CSS -->
    <link rel="stylesheet" href="https://bootswatch.com/lumen/bootstrap.min.css" crossorigin="anonymous">
    </head>
  <body>
  <body>
    <div id="app"></div>

    <!-- built files will be auto injected -->
    <!-- jQuery first, then Tether, then Bootstrap JS. -->
    <script src="https://code.jquery.com/jquery-3.1.1.slim.min.js" integrity="sha384-A7FZj7v+d/sdmMqp/nOQwliLvUsJfDHW+k9Omg/a/EheAdgtzNs3hpfag6Ed950n" crossorigin="anonymous"></script>
    <script src="https://cdnjs.cloudflare.com/ajax/libs/tether/1.4.0/js/tether.min.js" integrity="sha384-DztdAPBWPRXSA/3eYEEUWrWCy7G5KFbe8fFjk5JAIxUYHKkDx6Qin1DkWx51bBrb" crossorigin="anonymous"></script>
    <script src="https://maxcdn.bootstrapcdn.com/bootstrap/4.0.0-alpha.6/js/bootstrap.min.js" integrity="sha384-vBWWzlZJ8ea9aCX4pEW3rVHjgjt7zpkNpZk+02D9phzyeVkE+jo0ieGizqPLForn" crossorigin="anonymous"></script>
  </body>
</html>
And we’ll modify everything we did in terms of templates - there are only two for now, App.vue and Home.vue =]
App.vue will look like this:
  <template>
    <div>
        <nav class="navbar navbar-default">
            <div class="container-fluid">
                <div class="navbar-header">
                    <button type="button" class="navbar-toggle collapsed" data-toggle="collapse" data-target="#bs-example-navbar-collapse-1">
                    <span class="sr-only">Toggle navigation</span>
                    <span class="icon-bar"></span>
                    <span class="icon-bar"></span>
                    <span class="icon-bar"></span>
                    </button>
                    <a class="navbar-brand" href="#"> <router-link :to="{ name: 'home'}">
                    <i class="fa fa-home"></i>
                    Home
                    </router-link ></a>
                </div>
            </div>

        </nav>

        <div class="container">

            <transition name="page-view">
                <router-view></router-view>

            </transition>

        </div>


    </div>
</template>

<script>
import { routes } from './routes'

export default {
  data(){
    return{
      routes:routes.filter(route => route.menu)
    }
  }
}
</script>

<style>
.page-view-enter, .page-view-leave-active{
    opacity:0;
}

.page-view-enter-active, .page-view-leave-active{
    transition: 0.4s
}

</style>
And Home.vue will be finalized like this, even adding one more button - the edit button:
<template>

        <div class="container">
            <h3 class="page-header">{{ title }}</h3>
            <div class="row">
                <ul >
                    <li v-for="task in tasks">


                        <div class="panel panel-success col-md-4">
                            <div class="panel-heading">
                                <h3 class="panel-title">{{ task.activity }}</h3>
                            </div>
                            <div class="panel-body">
                                Status: {{task.done}}
                                <hr>

                                    <button class="btn">
                                    <span class="glyphicon glyphicon-pencil" aria-hidden="true"></span>
                                    Editar
                                    </button>
                                    <a @click="removeTask(task)">
                                        <button class="btn">
                                        <span class="glyphicon glyphicon-trash" aria-hidden="true"></span>
                                        Remover
                                       </button>
                                    </a>
                            </div>
                        </div>

                    </li>
                </ul>
            </div>
            <hr>
            <div class="row">
              <div class="col-md-5 col-md-offset-2 well">
                  <form @submit.prevent="submitTask()">
                    <div class="form-group">
                        <label for="">Atividade:</label>
                        <input class="form-control" type="text" v-model="task.activity">
                    </div>
                    <div class="form-group">
                        <label for="">Status:</label>
                        <input  type="checkbox" v-model="task.done">
                    </div>

                    <button class="btn" name="add">Add + </button>
                </form>
              </div>
            </div>
        </div>

</template>
<script>


export default {

    data(){
        return{
            title:'To do Vue!',
            tasks:[],
            task: {
                name:'',
                done:false
            }

        }
    },
    methods:{

        submitTask(){

        },
        removeTask(taskItem){


        }


    },
    created(){


    },

}

</script>
<style>

  .panel.panel-success.col-md-4{
    margin:20px;
  }


  li {
      list-style-type: none;
  }

  ul li{
      margin-left:1em;
  }
</style>
Step 5
Well, in the other posts I had created our functions to work with a simple CRUD…but they only work to a certain extent. We want to do something thinking about a server responding on the other side, and since until now nothing works - nothing at all - we’ll need first of all, and I ask you please, clone this API here Base API. Basically you’ll enter the directory, run npm install and npm run dev, and you’ll need MongoDB installed, and that’s it. Continuing…
The next step is to build a service that will help us connect to our server. For this we’ll create another folder called domain where we’ll have several other services later on. But for now we’ll just create one more folder inside domain called task, and our directory tree will look like this:
├── App.vue
├── components
│   └── home
│      └── Home.vue
│
├── domain
│   └── task
│       └── TaskService.js
├── main.js
└── routes.js
Now, let’s go to our TaskService.js file. I want to create only two functions for now, one to list and another to create items for our list!
export default class TaskService{

    constructor(resource){
        this._resource =  resource('api/tasks{/id}')
    }


}
What did we do here? We created a class and exported it with a constructor that receives the part referring to our API. Notice this api/tasks{/id} - it receives the URL in a way that makes it easier for us to handle the path. Anyway, first let’s create our method to list our tasks:
export default class TaskService{

    constructor(resource){
        this._resource =  resource('api/tasks{/id}')
    }


    listTask() {
        return this._resource
            .query()
            .then(res => res.json())
    }


}
And we’ll make another very simple change to our Home.vue, in our created():
<script>
import _ from 'lodash';
import TaskService from '../../domain/task/TaskService'

export default {

    data(){
        return{
            title:'To do Vue!',
            tasks:[],
            task: {
                name:'',
                done:false
            }

        }
    },
    methods:{

        submitTask(){

        },
        removeTask(taskItem){


        }


    },
    created(){


    },

}

</script>
First, let’s install one more module, lodash, and indicate the relative path of our service!
sudo npm install lodash --save
Look closely at the module and our service calls!
<script>

import _ from 'lodash';
import TaskService from '../../domain/task/TaskService'
And in the created() method, we’ll call our service and render the values coming from our JSON object that comes from our API, and it will look like this:
created() {
    this.service = new TaskService(this.$resource)

    this.service
    .listTasks()
    .then(tasks => {
        const item = _.map(tasks, item => item);
        this.tasks = item;
    }, err => console.log(`Erro na listagem da nossa aplicação ${err}`));


}
What we did was instantiate our service, calling our listTask() method which returns a promise. In this promise we handle the value and pass it to our list which is an array this.tasks = [];. If you want to test it and have basic MongoDB knowledge, it’s quite simple to simulate a value:
======
Off-topic
Inserting a value through Mongo shell:
If you have mongo installed, just enter your shell mongo and type:
use task_database
Then type the following command:
db.tasks.insert({activity:'Make a coffee', done:true})
And that’s it! If you look at our application now, it’s working and you’ll see our first task!
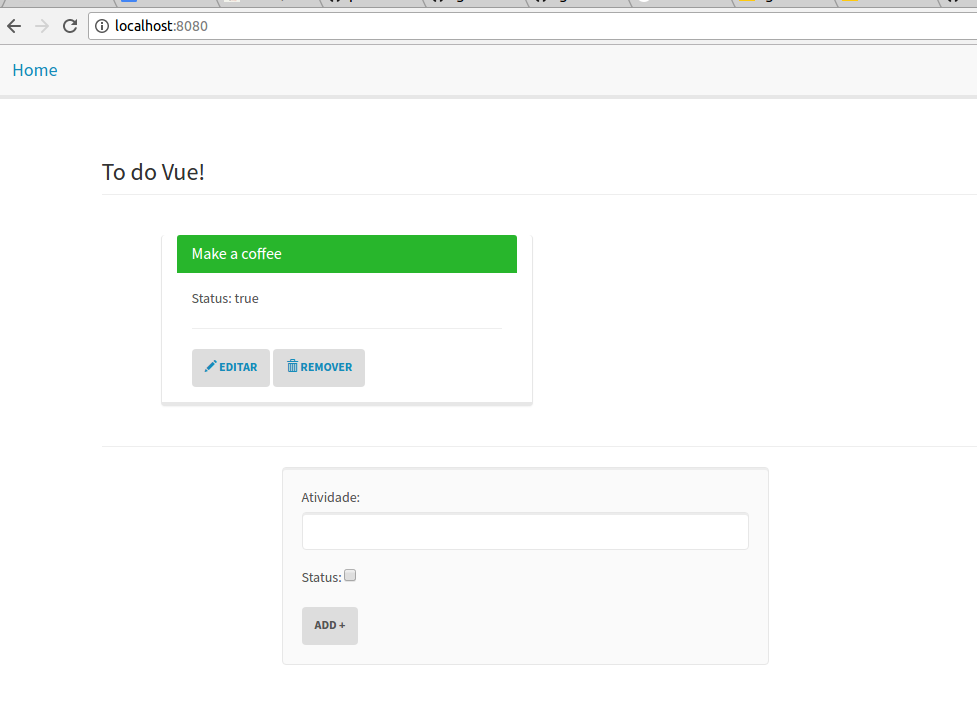
But…let’s make one more modification!
This true or false doesn’t look good, so let’s use v-if to show whether this was completed or not!
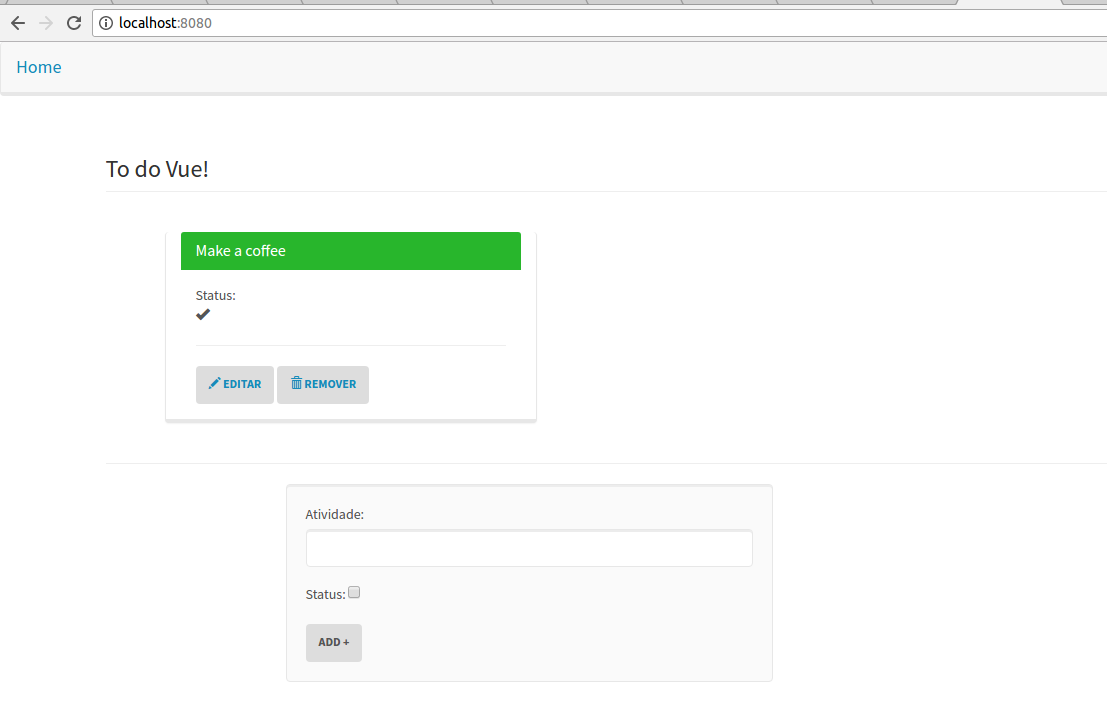
Just add this in front of status - if task.done == true, it shows the ok icon, otherwise, if it’s false, it shows a remove item, an x, and that’s it
  Status: <div v-if="task.done == true">
             <span class="glyphicon glyphicon-ok"                    aria-hidden="true"></span>
            </div>
            <div v-else-if="task.done == false">
                <span class="glyphicon glyphicon-remove" aria-hidden="true"></span>
            </div>
Now it’s much cooler:
And let’s go to the last function of this post. Let’s go back to our TaskService.js service
/* Class TaskService */


 saveTask(task){

    if(task._id){
        return this._resource.update({ id: task._id }, task)
    }else{
            return this._resource.save(task)
    }

}
Very simple - we call the resource to handle this. We’ll just make a small change for when we do an update, using the task’s id to update the task itself, and we go back to our view for our method:
    /* Parte acima da aplicação */

    methods:{

        submitTask(){
            this.service
                .saveTask(this.task)
                .then(res => {
                    this.tasks.push(res.body)
                    this.task = {
                            name:'',
                            done:false
                        }
                })
    },

    /* Created abaixo */
Since our service has already been instantiated, we can just call the service and its methods to perform the function, and that’s it - very simple! =]
That’s all for today! I’ll continue with the rest of the application in the next post. Thank you very much and see you later!